Homemade desktop CNC router
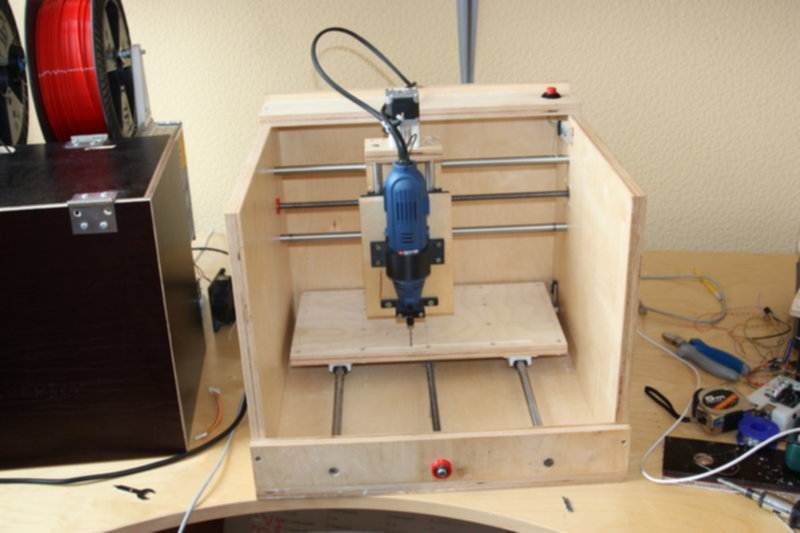
During the last few months I have slowly been building a desktop CNC router. It is loosely based on Pleasant Mill by Zaggo, which in turn is loosely based on famous Mantis mill.
I changed some parts of Zaggo's design to my liking:
- I wanted an enclosed work area, so I extended the side panels. It's easier to handle square pieces of plywood as well.
- All axis are sliding on LM12UUs.
- Instead of bronze nuts for trapezoidal leadscrews I'm using selfmade POM/Acetal nuts.
Otherwise, my machine is almost identical to Pleasant Mill.
Mechanics
Since the design is based on previous work, I don't see any value detailing my design.
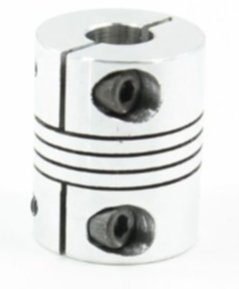
I will point out the one flaw in my design which I want to change- it's stepper motor
shaft couplers. I'm using cheap couplers from e-bay and they are not at all designed to
handle any serious loads. I will probably use something like RepRap Z-axis couplers.
One of the LM12UUs seems to be faulty- when I inserted the rod, one of the bearings balls popped out. Now, when I'm moving that axis in one direction, there is a loud noise and the carriage briefly moves perpendicular to direction of that axis.
Electronics
Intially I wanted to build custom electronics which would run Grbl. However, after the initial cost calculation, I realized that unassembled Sanguinololu kit from e-bay costs less than the required minimum of components.
So I went ahead, ordered a Sanguinololu kit with three DRV8821 based Pololu-knockoffs. Kit assembly was a breeze, and the electronics are working flawlessly. The only thing I wish is support for max endstops. Sanguinololu has a few extension pins, so this may only require firmware changes.
Homing Z axis
Main applications for my machine require a somewhat accurate Z axis homing. I came up with an endstop solution consisting of a piece of scrap PCB, and an alligator clip.
Alligator clip is attached to machining tool after the latter is mounted in Dremel tool. The PCB is placed on the workpiece, and homing cycle is started. When machining tool touches the PCB, electrical connection is created, and endstop input is triggered.
This allows machine to find an offset from workpiece, and set the current position of Z axis accurately (at least, I hope so).
Firmware
Initially I wanted to run Grbl. However, Grbl requires that controller pins driving stepper drivers are on the same port. Unfortunately it is not the case on Sanguinololu. I wanted to get the mill running quickly, so I settled for Marlin, which runs on Sanguinololu without any changes.
I wanted a prominent emergency stop button, and since Marlin did not have support for E-stop, I had to add it. Marlin's source code seems chaotic compared to Grbl's, so if I decide on more modifications, I will probably try to modify Grbl to support stepper driver pins on separate ports. There is an (unmaintained) fork of Grbl which has support for Sanguinololu, but it uses an old version of Grbl, and as software engineer, I always want to use the latest and shiniest software :>
CAM software
For my initial tests of PCB milling, I tried a whole lot of tools claiming to generate G-code from CAD files:
- cam.py from guys at MIT. Couldn't get it to work at all.
- pcb2gcode. Supported G-code output only in imperial units, which Marlin does not support.
- GCAM. Could not get it to compile on my Arch Linux box. Probably PEBKAC.
- dxf2gcode. Kicad exports each segment individually when plotting to DXF. Seemed like a solid software for other types of routing though.
I think I even tried a version of pygerber2gcode or something similar but that did not seem like a working option.
From all these I got the best results with pcb2gcode. I did some quick modifications to it's output engine to output metric coordinates for me. Marlin did not like G-code lines which consisted with machine coordinates only, so I prefixed those with G1.
For visualization of milling I'm using openscam, which is a nice piece of software. It even renders a 3D model of machined workpiece- it's quite good to be able to see not only tool position over time, but also how the resulting workpiece should look.
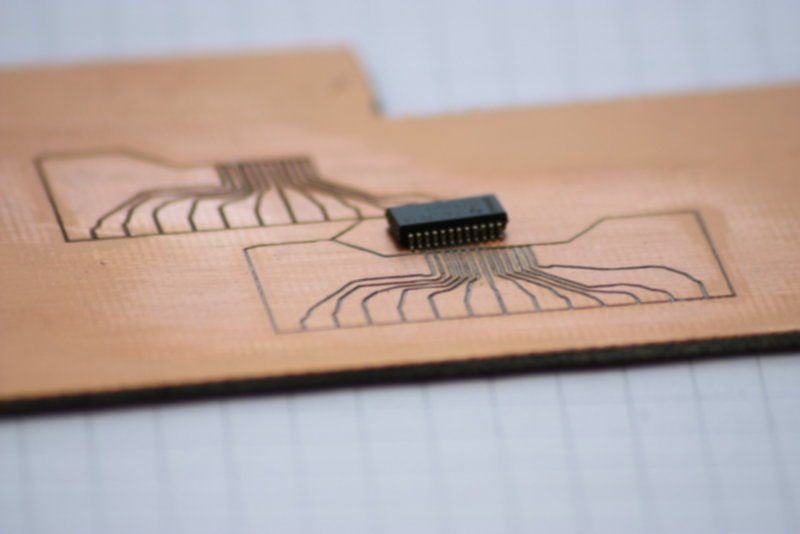
The pitch of the IC on picture is 0.65mm. I expected better results, but this will have to do. A better spindle with lower runout should allow for even finer isolation.
More images are available in my Google+ album.
Comments